The company you are working for could ask you to integrate Teradata system to their LDAP. Most of companies use Active Directory.
If LDAP integration is explained in some documentation, you will find less usefull information about Active Directory integration.
Here is an example from A to Z: hurry Go!
Windows parameters
DNS Settings
- Click Start / Administrative Tools / DNS
- Right-click on Reverse Lookup Zones
- Click New Zone
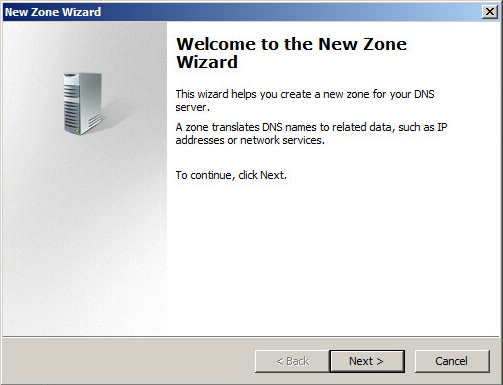
- Click Next
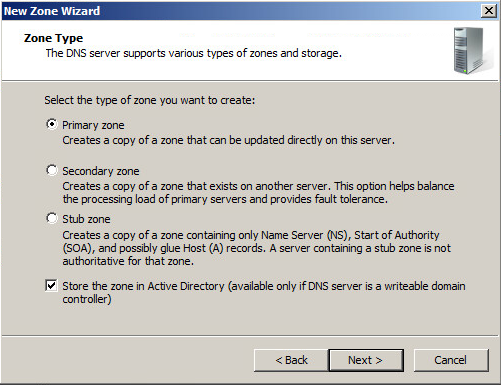
- Check Primary zone
- Check Store the zone in Active Directory
- Click Next
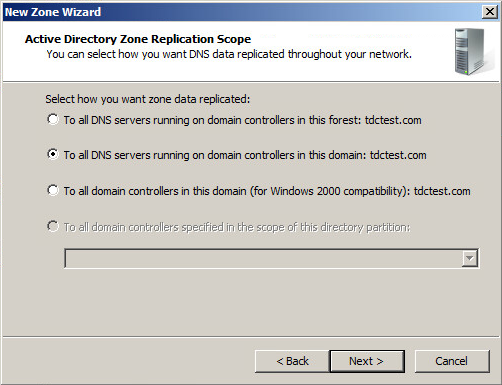
- Check To all DNS servers running on domain controllers in this domain
- Click Next
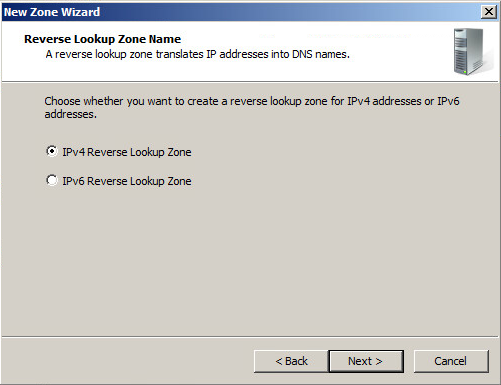
- Check IPv4 Reverse Lookup Zone
- Click Next
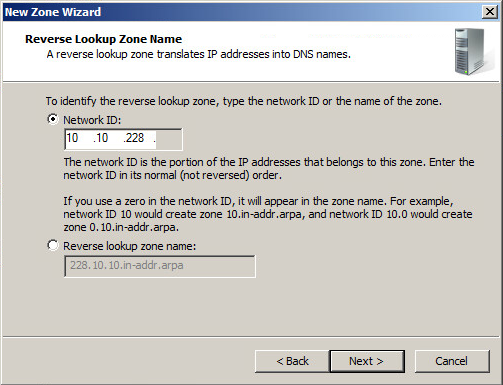
- Check Network ID
- Enter the 3 first byte of Network IP Adress (10.10.228)
- Click Next
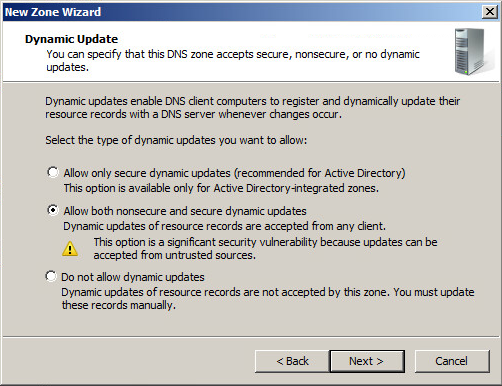
- Check Allow both non secure and secure dynamic updates
- Click Next
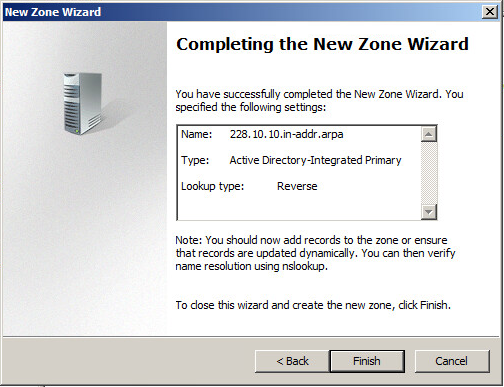
- Check all gathered information
- Click Finish
Adding host
- Click Start / Administrative Tools / DNS
- Right click on the domain name
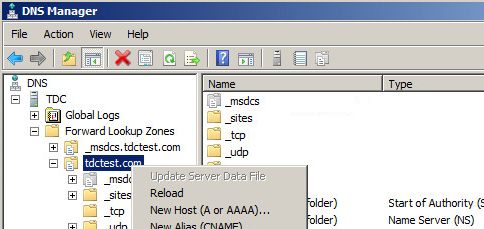
- Select New Host (A or AAAA)
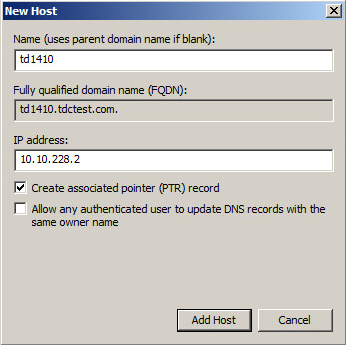
- In Name, enter the Teradata node name
- In IP address, type the Teradata node IP address
- Check Create associated pointer (PTR) record
- Click Add Host
- Click Done on the new screen appearing
Active Directory
- Click Start / Administrative tools / Active Directory Users and Computers
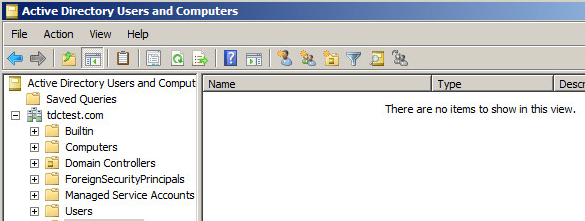
Creating an Organization Unit (OU)
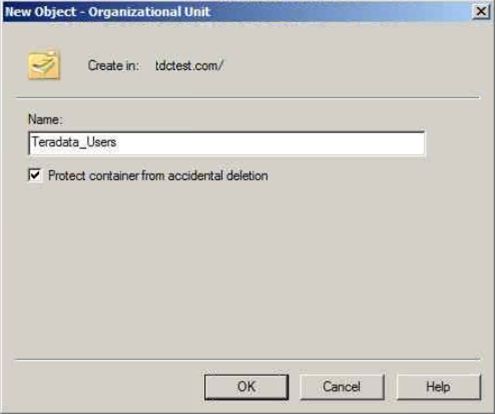
- Fill out the Name field with the name of the OU you want to create
Adding users
In Active Directory
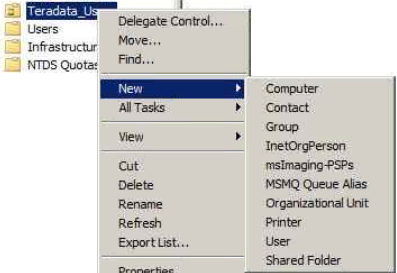
- Right click on Teradata_Users
- Select New / User
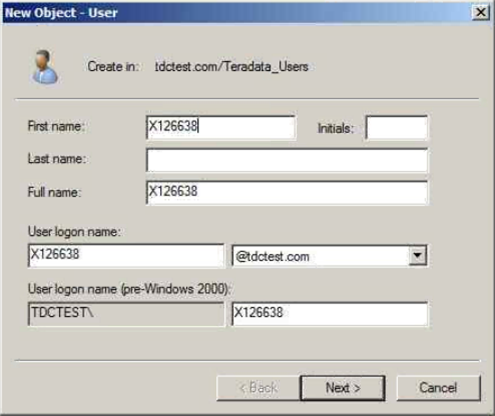
- In First Name, add the user’s name
- In User logon name, check the autocompleted name
- Click Next
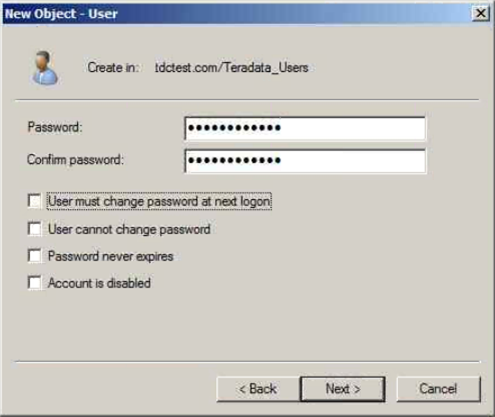
- In Password field, enter the password following the security rules
- In Confirm password field, retype the previous password
- Click Next
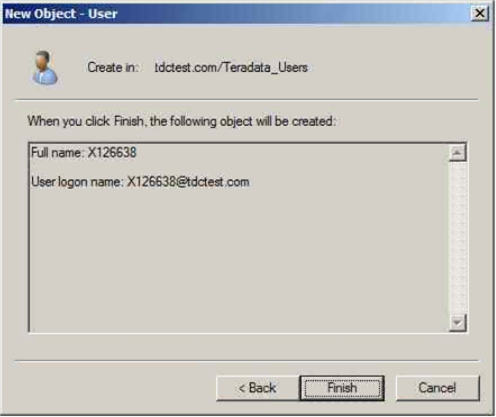
- Click Finish
Tree containers organization
I would recommend you to organize your container as the following, in order to classify and order your users, roles and profiles

For each level repeat the previous step, by adding an Organization Unit.
This will allow you to add different systems (Production, Pre-Prod, development…), ecah one will receive the right containers.
Creating Profiles
- Click Start / Administrative Tools / ADSI Edit
- Right click the User OU / select New / Object…

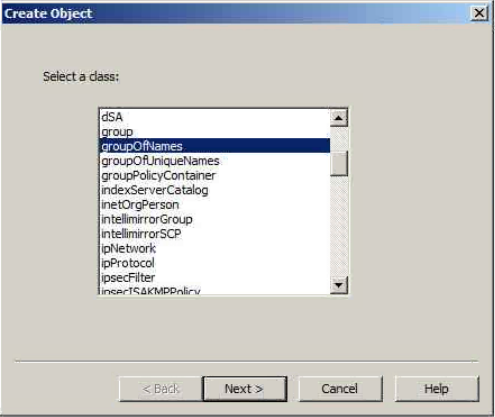
- Select groupOfNames
- Click Next >
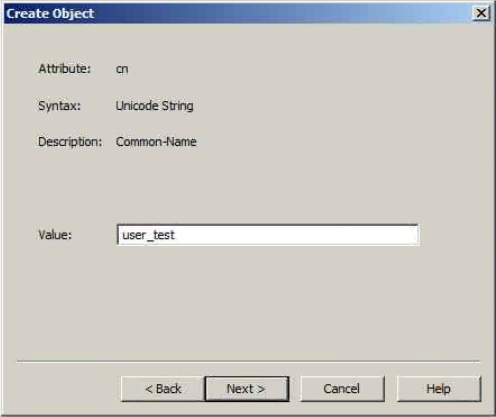
- In Value field, enter the profile name
- Click Next >
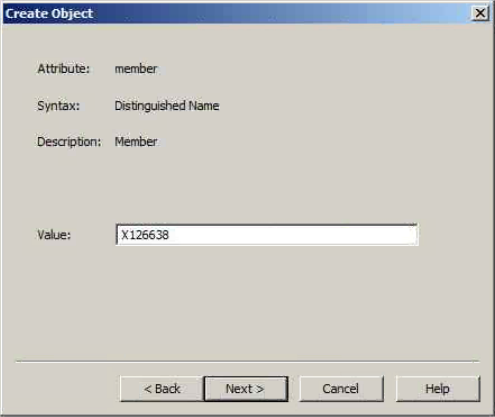
- Click Next >
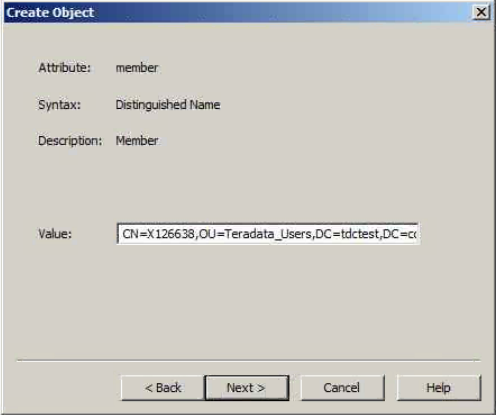
- In Value field, enter CN=X126636,OU=Teradata_Users,DC=tdctest,DC=com
- Click Next >
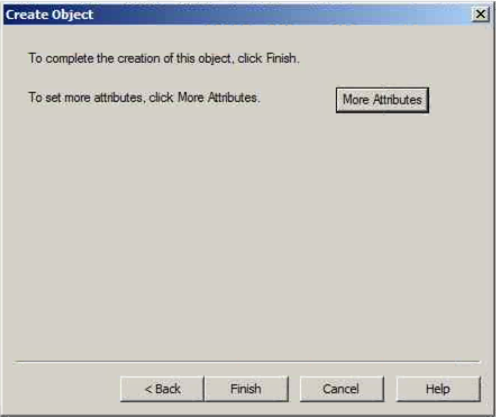
- Click Finish
Creating users groups
- Click Start / Administrative Tools / Active Directory Users and Computers
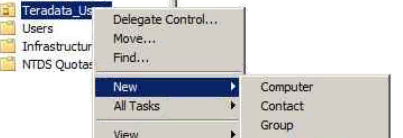
Right click Teradata Users OU / New / Group
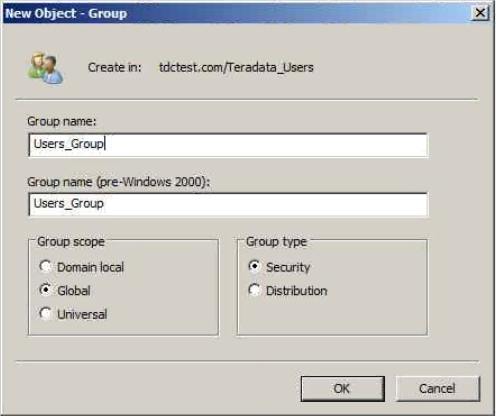
- In Group name field, enter the group name
- In Group scope panel, Check Global
- In Group type panel, Check Security
- Click OK
Adding users to Group
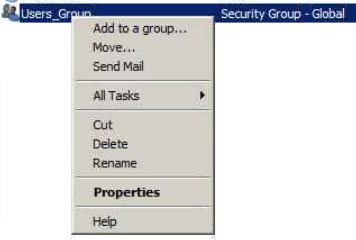
- Right click on the group previously created, select Properties
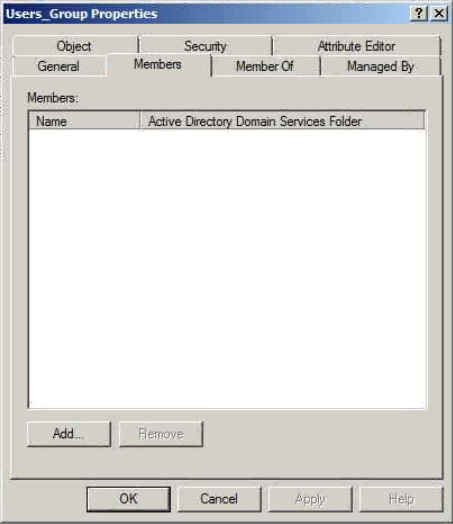
- Click Members panel
- Click Add…
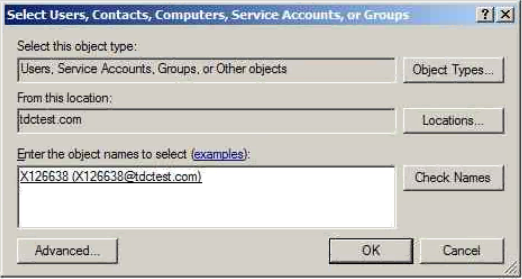
- In Enter the object names to select, enter the user you want to add in the group
- Click Check Names to autocheck the name spelling
- Click OK
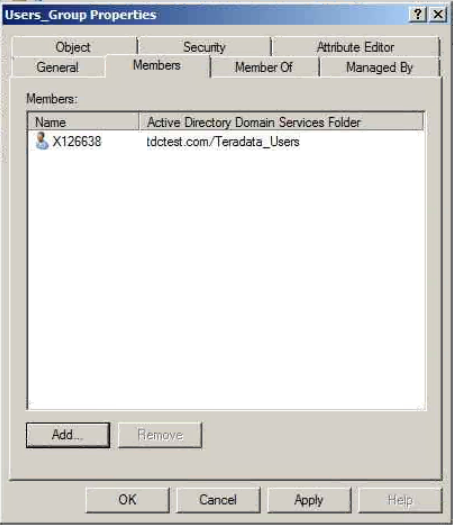
- Click OK
Creating roles
- Open ADSI Edit tool
- Right click the User OU / select New / Object…

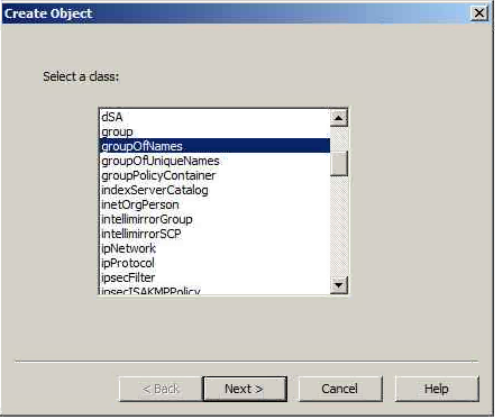
- Click Next >
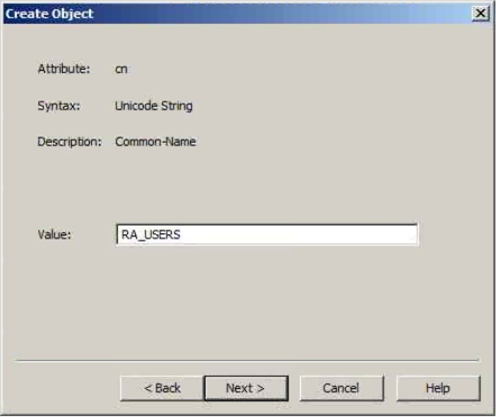
- Click Next >
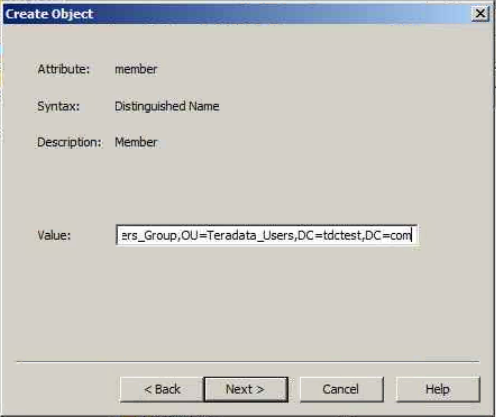
- In Value field, enter CN=Users_Group,OU=Teradata_Users,DC=tdctest,DC=com
- Click Next >
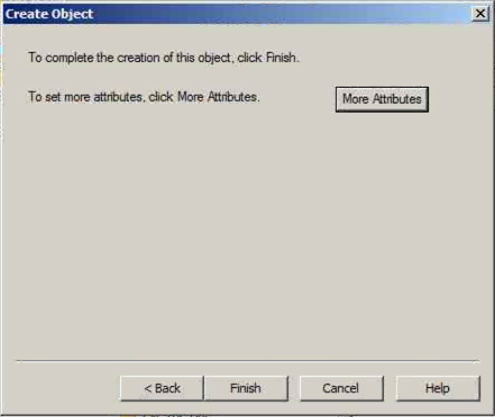
- Click Finish
Setting up tdgssUserConfigFile
On Teradata edit in VI the /opt/Teradata/tdat/tdgss/site/TdgssUserConfigFile.xml file
Be sure that the bold properties below are set in this file
AuthenticationSupported="yes"
AuthorizationSupported="yes"
 MechanismEnabled="yes"
MechanismRank="70"
DefaultMechanism="no"
DelegateCredentials="yes"
MutualAuthentication="yes"
ReplayDetection="yes"
OutOfSequenceDetection="yes"

ConfidentialityDesired="yes"
IntegrityDesired="yes"
AnonymousAuthentication="no"

DesiredContextTime=""
DesiredCredentialTime=""
CredentialUsage="0"
VerifyDHKey="no"

LdapClientMechanism="Simple"

LdapServerName="ldap://tdc.tdctest.com/"

LdapServerPort="389"
LdapGroupBaseFQDN="ou=Teradata_Users,dc=tdctest,dc=com"
LdapSystemFQDN="ou=tdprod,ou=tdat,dc=tdctest,dc=com"
LdapUserBaseFQDN=""
/>


/>
Applying the modified settings
On the Teradata node, enter the following command
- run_tdgssconfig
Restarting the database
On the Teradata node, enter the following command
- tpareset –y Restart LDAP
Where Restart LDAP is your comment for further log consultation
How to get LDAP parameters in Active Directory
These following commands can help to get some information about your path in AD nodes
- Click Start / Command Prompt
- Type dsquery computer
Can be used in the LdapSystemGFQDN line
- Type dsquery group
Can be used in the the LdapGroupBaseFQDN line
- Type dsquery user
Can be used in the LdapUserBaseFQDN line (remove the user part to keep only from OU)
Creating a profile
- In Teradata administrator, click Tools / Create / Profile…
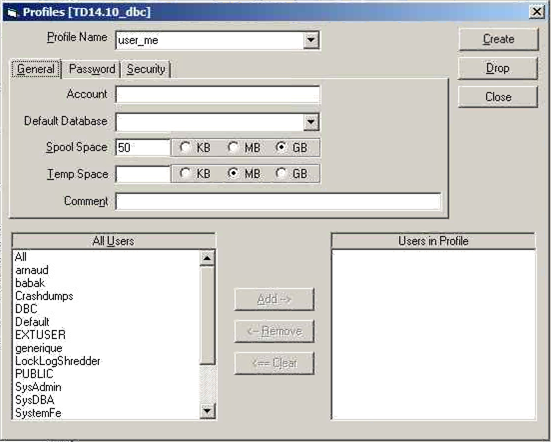
- In Profile Name, enter the Profile’s name
- In Spool Space, enter the quantity of spool who want to apply to the profile
- Click Create
- Click Close
Creating a role
- In Teradata administrator, click Tools / Create / Role…
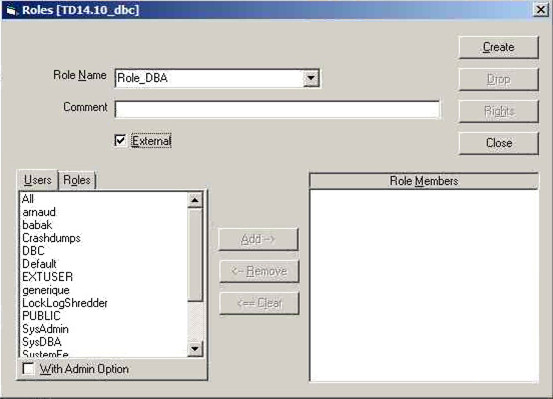
- In Role Name field, enter the Role’s name
- Check External
- Click Create
- Click Close
Creating a user
- In Teradata Administrator, click Tools / Create / User…
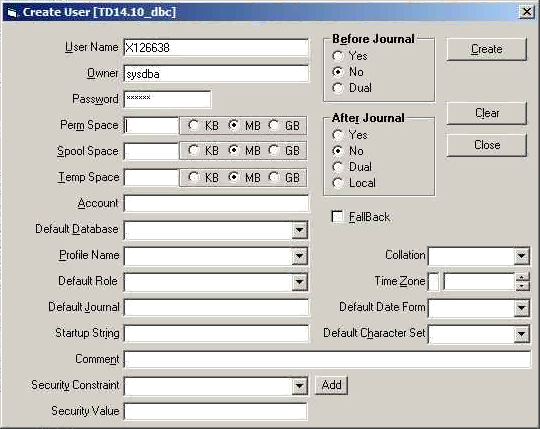
- In User name filed, enter the username you want to create
- In Owner field, enter the hierarchical owner
- In Password field, enter the password
- Click Create
- Click Close
Allowing a user to logon with a null password
After creating a user, you must grant the user the right logon privileges
- In SQL Assistant, logon with admin rights and type
- GRANT LOGON ON ALL TO X126638 WITH NULL PASSWORD;
How to test your connectivity
With a mapped user in Teradata
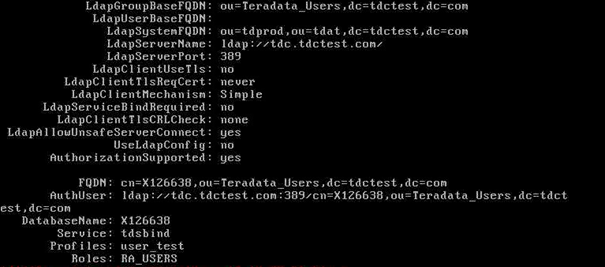
On the Teradata node, launch the following command:
- tdsbind –u X126638 –w password
Here is the result
Constraints and limits
With a mapped user in Teradata
If users are mapped in Teradata, by creating explicitly a user in Teradata database, there are no other constraints and limits than those already known with a common usage.
With an unmapped user in Teradata
Here are the constraints and limitation for an unmapped user:
- No function touching a USER object can be defined
- All unmapped users will share the same Spool space
- All unmapped users will share the same Temp space
- Unmapped users can not create Volatile tables
- Unmapped users can not create Temporary tables
- No inheritance of implicit creator rights after object creation
- Names of unmapped users won’t be displayed in Viewpoint
- TASM rules cannot be defined for unmapped users